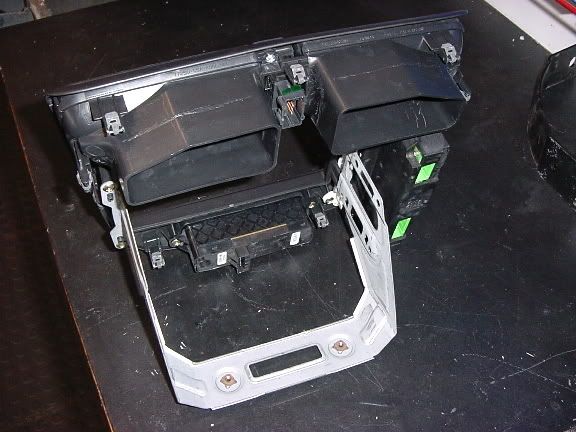
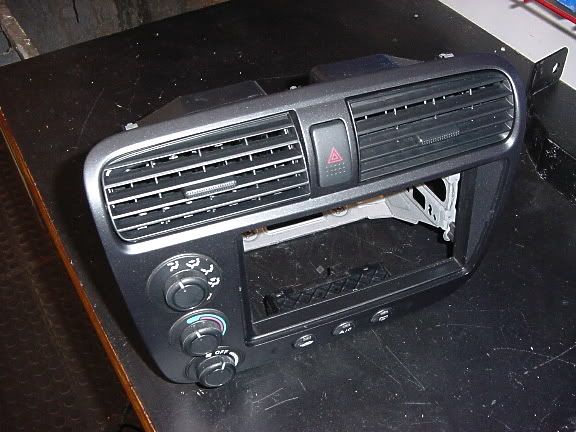
In the pictures below, the factory radio and pocket have already been removed. I'd like to say that it's so that you can have a clearer look at the dash structure behind the radio; but it's really because I took these pictures while working on a car that had a CD player stolen.
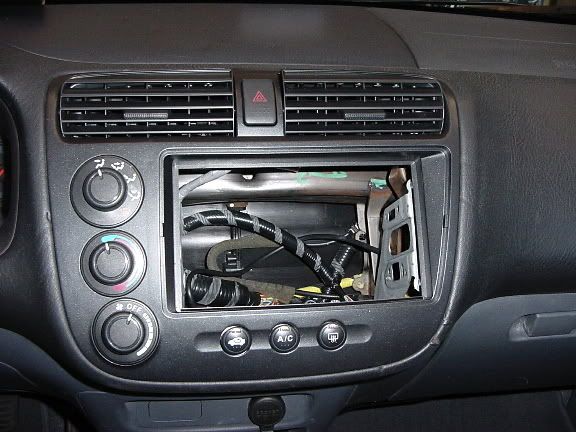
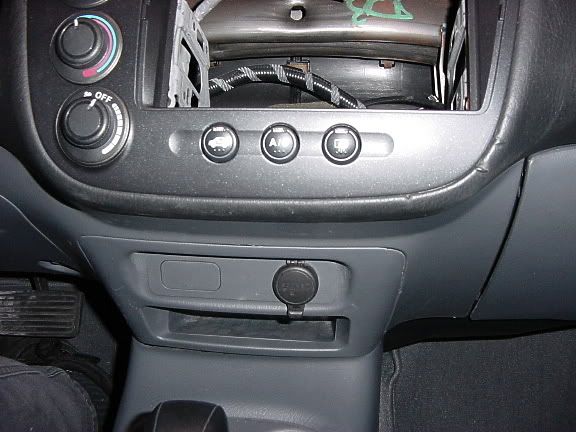
The first picture is the dash and radio bezel, still installed in the vehicle. To install a new radio, this entire panel--including the vents, climate control modules, and metal side brackets--will need to be removed.
Look closely at the vinyl that surrounds the outside edge of the dash panel. In several locations you can see marks where someone tried to pry off the panel from the front. This is a very common error. You cannot use a tool to pry the panel off; and you cannot remove it at all until you've take out the hidden screws.
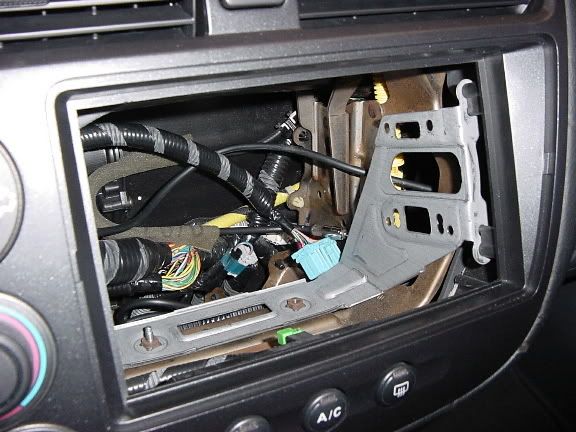
Here's a closer look inside the dash. The silver-colored bracket is attached to the front panel, and needs to be removed with it. It's secured with two screws, driven through the bottom of the bracket from underneath. If you look closely at the lower part of the bracket, you'll see one of the screws still in place, and another location where the screw has been removed.
In order to get to the screws, you need to remove the small access panel underneath. This panel has the cigarette lighter built into it, and it's just held in with clips. Pry it away until it pops off. A plastic "trim stick" is a handy tool for this step, because it won't leave marks on the soft plastic of the dash.
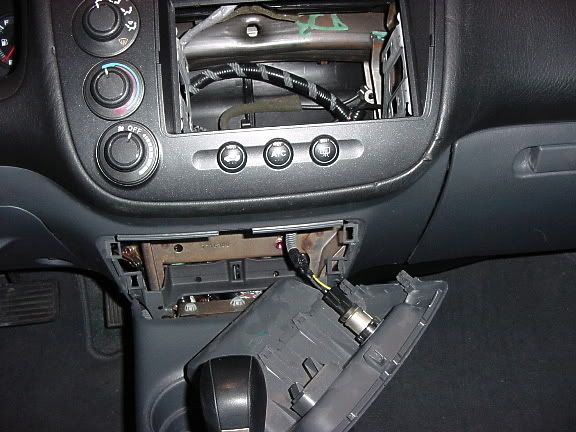
A shot of the cavity with the access panel removed. You can see the silver-colored screw at the top of the opening. This screw, and another like it, must be removed before the upper dash plate assembly will come out.
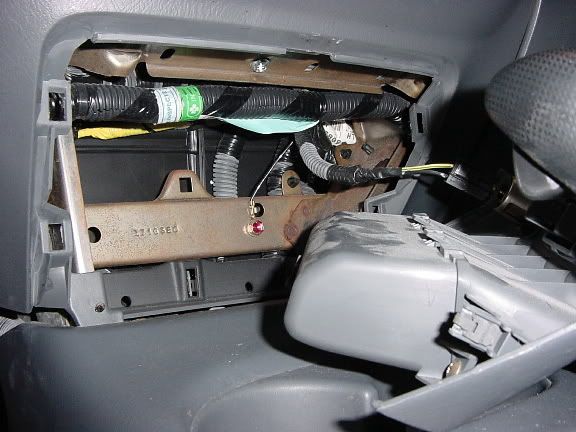
Once the screws are out, you need to reach up through the small access panel, and try to push the dash assembly out from the rear. This is not necessarily going to be an easy step! It's also easy to cut your hands on the sharp metal behind the dash, so gloves are recommended. It takes quite a bit of force to get the panel clips to release. Pushing from behind is the only way to avoid damaging the front vinyl. Once you have a few clips out, there should be enough of a gap in the front that you'll be able to exert some leverage there too. The first few clips are the hardest.
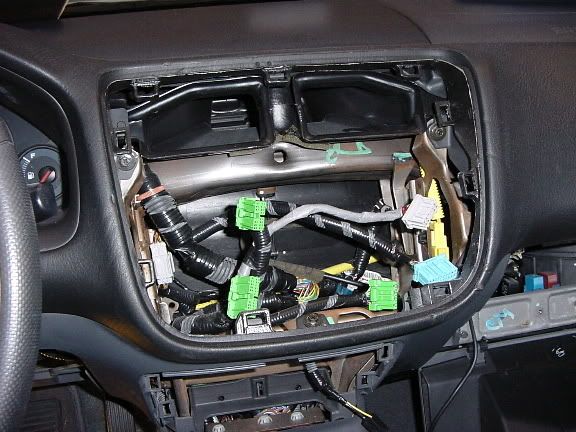
There will be several different plugs you'll need to detach before you can remove the complete assembly. Take note of how the wires bundles are routed around the brackets, so that you'll have an easy time plugging them back again when you're ready to re-assemble the dash.
Here's a shot of the removed dash panel:
